
Transparent Pilgrim Bonnet
Supplies Needed
- 12" x 18" drawing paper or white construction paper
- Ribbon or string
- Scissors
- Glue stick
- Ruler
- Pencil
- Hole punch
- Stapler
- Transparent tape
STEPS
1Prepare the paper.
Prepare a sheet of 12" x 18" drawing paper or white construction paper. Position it horizontally on a flat surface.
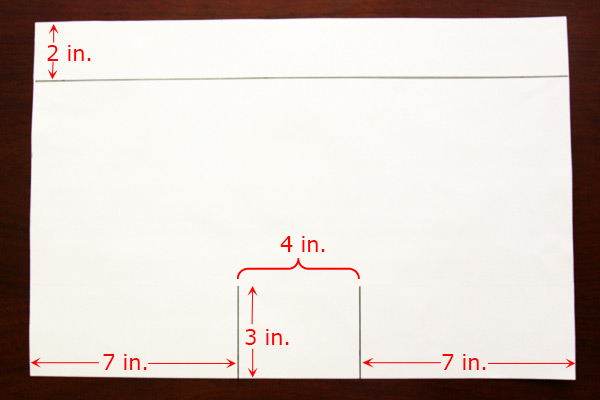
2Draw three lines.
Using a ruler and a pencil, draw 3 lines on your paper following the diagram.
The first line is a horizontal line 2 inches from the top edge of the paper. The next two are a pair of 3-inch tall vertical lines at the bottom edge of the paper. Each vertical line is 7 inches from the paper's side edge and the pair of lines are 4 inches apart.
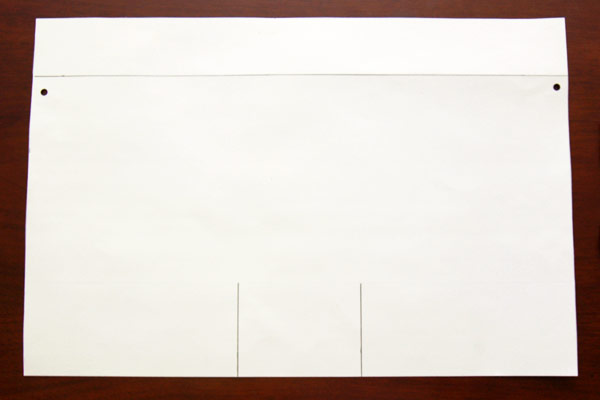
3Punch a pair of holes.
Punch a pair of holes right below the horizontal line. Each hole should be close to the paper's side edge.
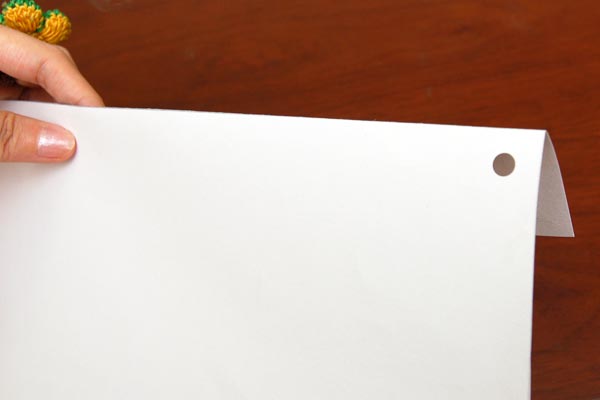
4Fold along the horizontal line.
Fold the paper along the horizontal line to create a top flap.
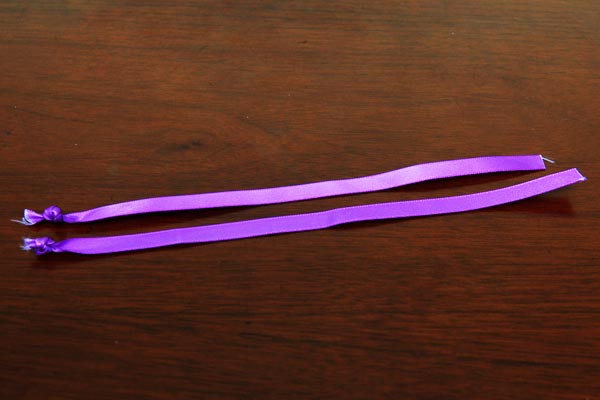
5Cut a pair of ribbons.
Cut ribbon or string into a pair of 10- to 12-inch long pieces. Make a large knot on one end of each ribbon or string.
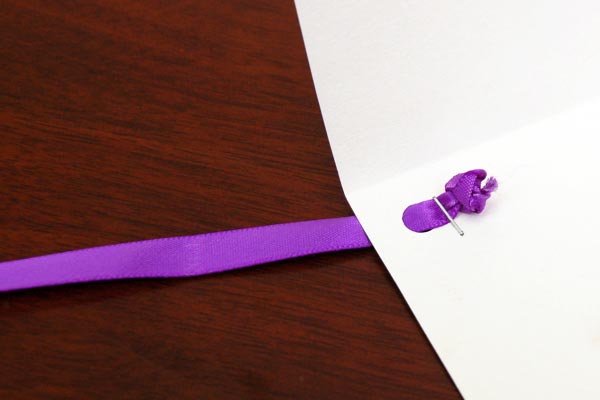
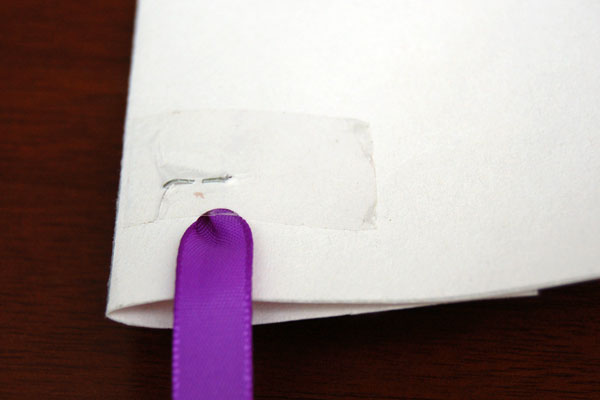
6Attach the ribbons.
Unfold the top flap. Insert a ribbon or string through one of the holes and pull until the knot is close to the hole. Staple or tape the knot in place. Similarly position the other ribbon or string on the opposite hole.
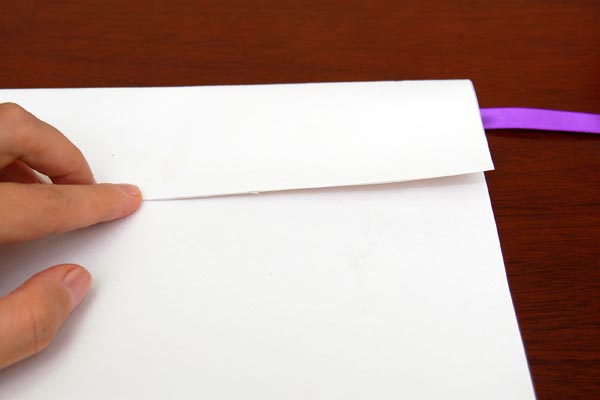
7Glue the top flap.
Apply glue along the top edge of the flap. Fold the flap down and press along the edges to glue it in place. The knots on the ribbons should be nicely hidden inside the flap.
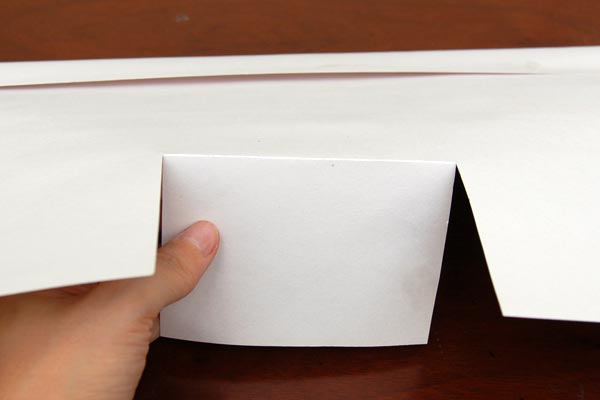
8Cut along the vertical lines.
Cut along the pair of vertical lines. This should create three flaps—two side flaps and a middle one. Fold down the middle flap.
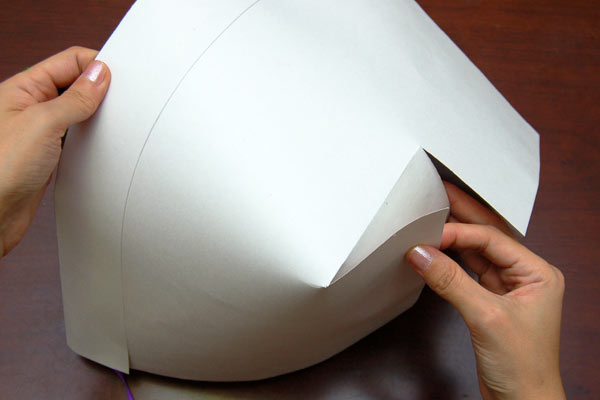
9Bring a side flap towards the middle.
Bring one side flap towards the middle flap.
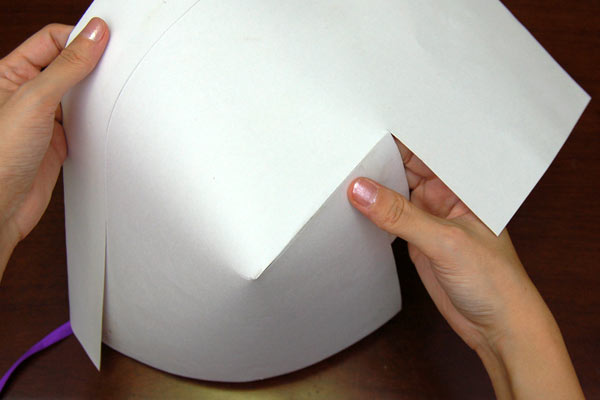
10Glue the side flap in place.
Glue the side flap in place. Notice how the top edge of the side flap is aligned with the crease on the middle flap.
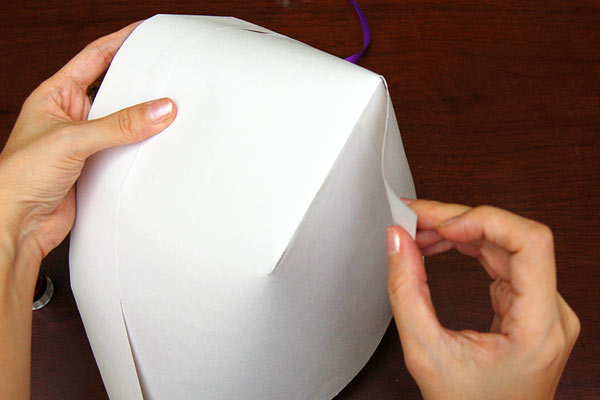
11Glue the opposite flap in place.
Likewise bring the other side flap towards the middle and glue it in place.
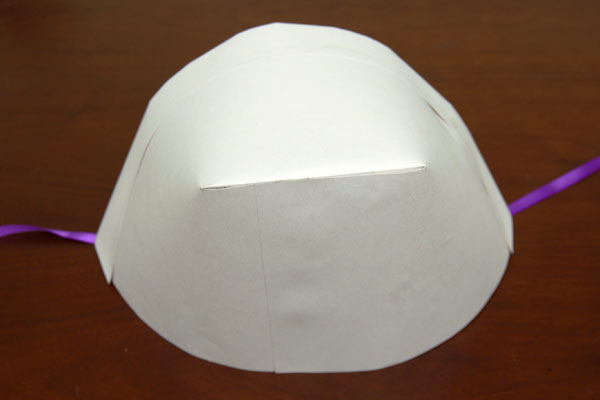
12Let the glue dry.
Gluing the pair of side flaps in place creates the final shape of your bonnet.
13Put tape over the staple wires.
For safety, put tape over the staple wires that show on the inside corners of your bonnet.
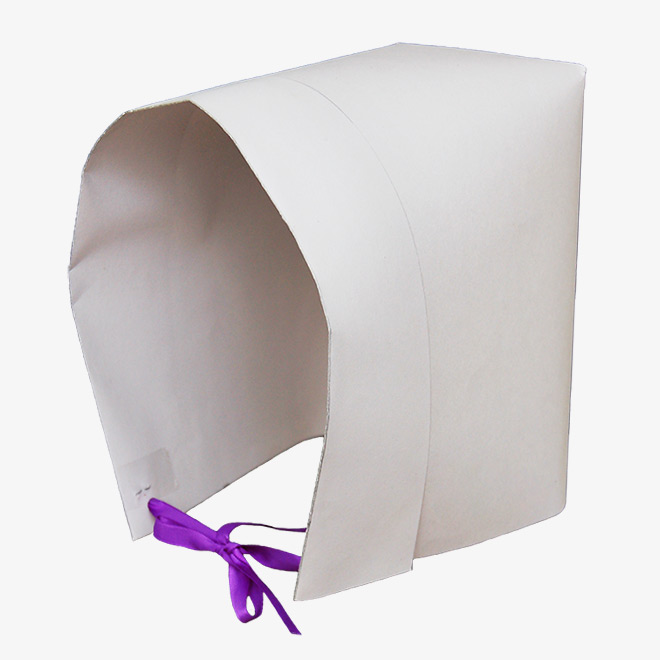
14Wear the bonnet.
Try on the bonnet. Tie the ribbons together under your chin to keep the hat in place.
You Might Also Like
Comments
Source: https://www.firstpalette.com/craft/paper-pilgrim-bonnet.html
Posted by: angieilooklike.blogspot.com

0 komentar:
Posting Komentar